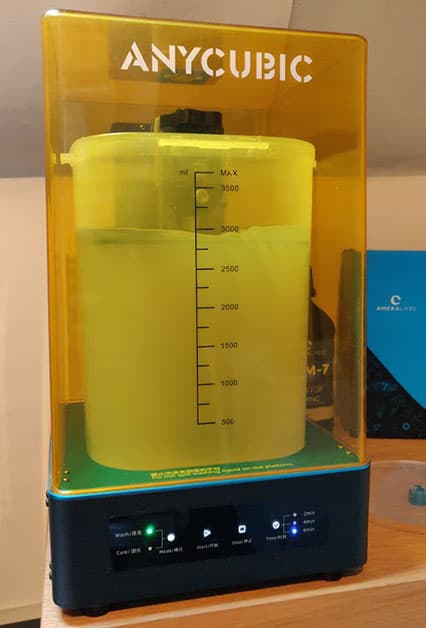
We have arrived at the last of our beginners guide to printing miniatures series and all that remains is some advice on removing, cleaning and curing your print. As we have mentioned a few times planning, organisation and a good workflow makes these next steps so much easier and less likely to end in a messy work area. Tupperware is your friend here and while we recommend 99% IPA other alternatives include Denatured Alcohol, Simple Green and Mean Green, its is a case of what you can get your hands on at a decent price point.
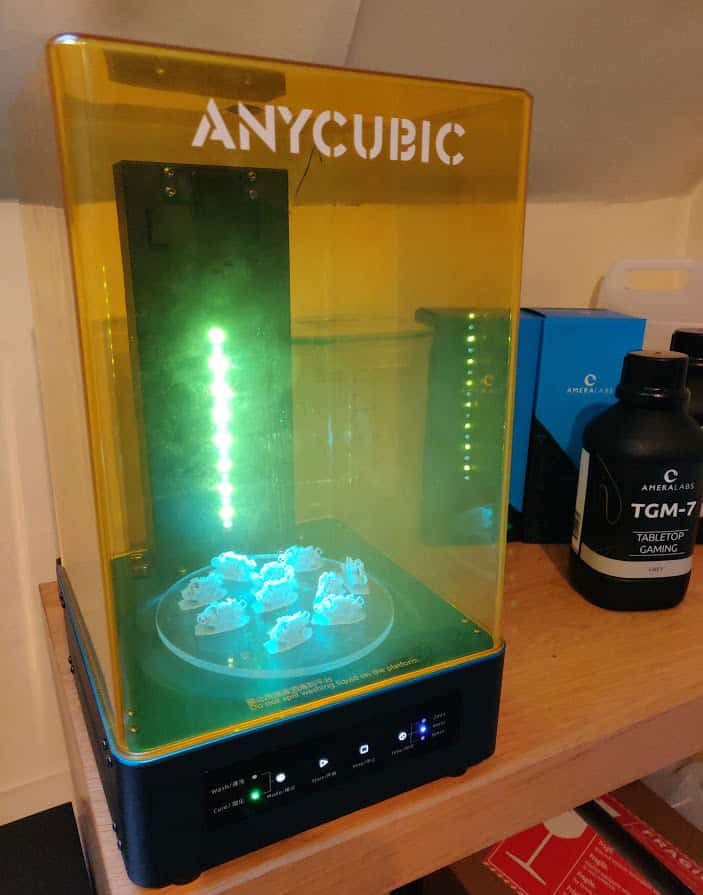
For us the best recommendation is to pick up one of the All in One Wash and Cure machines that the manufacturers now offer. At under $129 it really does not make a lot of sense to attempt to achieve the same functionality from a lashed up system. One of the biggest advantages of these machines is that you can simply remove your build plate from the printer and transfer straight into the Wash Cycle without having to touch the models at this point. Two advantages here, firstly your build plate is now being cleaned at the same time as your prints. Secondly as you have not yet taken the prints off the build plate you have avoided touching the wet resin
Once the wash cycle is complete lift off the lid and remove the build plate out of the tub, letting any excess drip off a little before you transfer it onto a foil tray lined with some household roll. Put the sealable lid back onto the washer tub and lift it clear of the machine ready for the cure cycle.
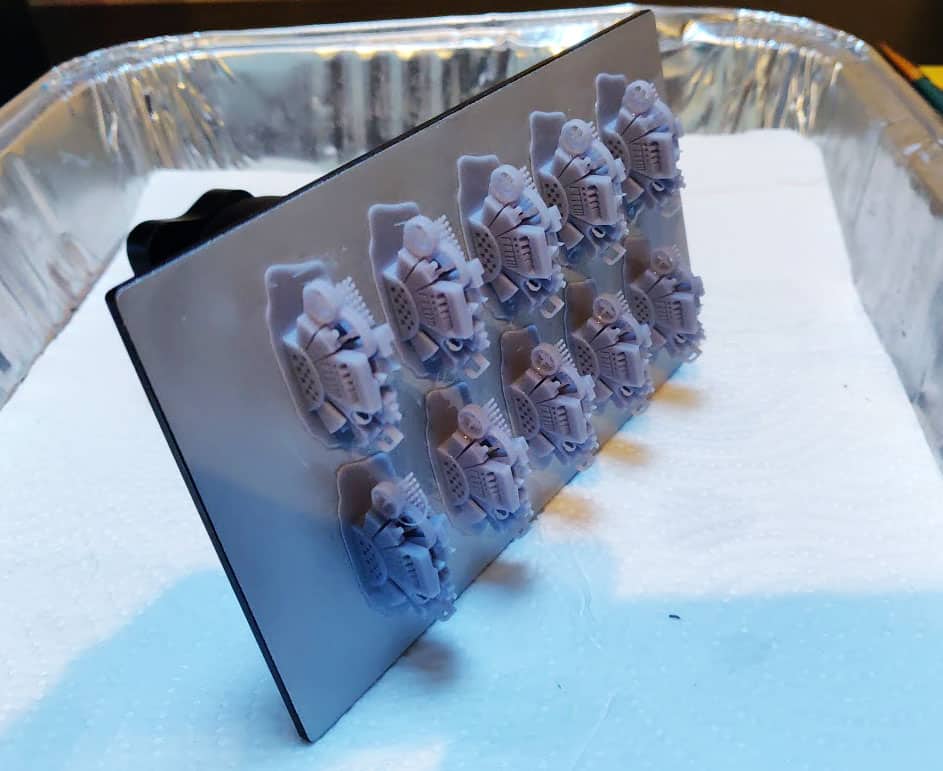
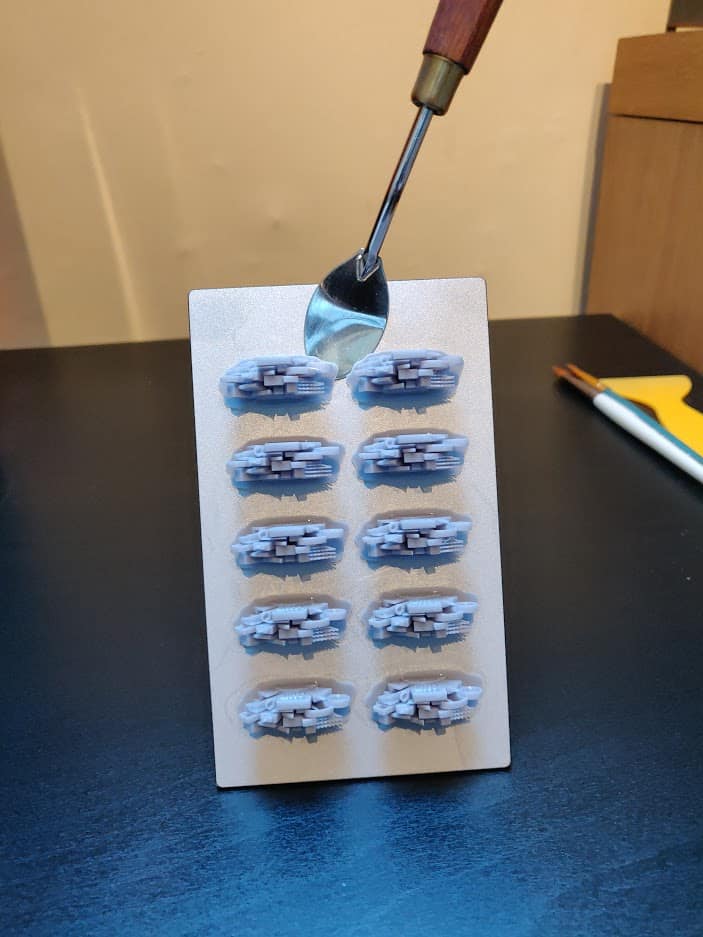
Now that our build plate and prints have been washed it is time to remove them. DO NOT USE the crude scrapper supplied with your printer, it is awful, it will score and gouge your surface, damage your models and you. Some people will say scratched build plates are ok, that is only half true, if you get a big enough gouge you potentially risk puncturing your FEP and ending up with a mess you did do not need and can completely avoid. Instead, for a few dollars pick up an artists palette knife, which are thin and flexible enough to be able to easily slip in under the base to remove the print safely without any risk of damage. To reinforce this point, the build plate you see in the picture below has printed hundreds of prints and is completely score free.
Before curing the print we recommend to remove the supports at this point by using the method below. Other methods to remove supports can included the use of the side cutters that come supplied with the printer. These are ok and worked best on a cured print. For me there is more follow up dressing required to remove the witness marks when using pliers.
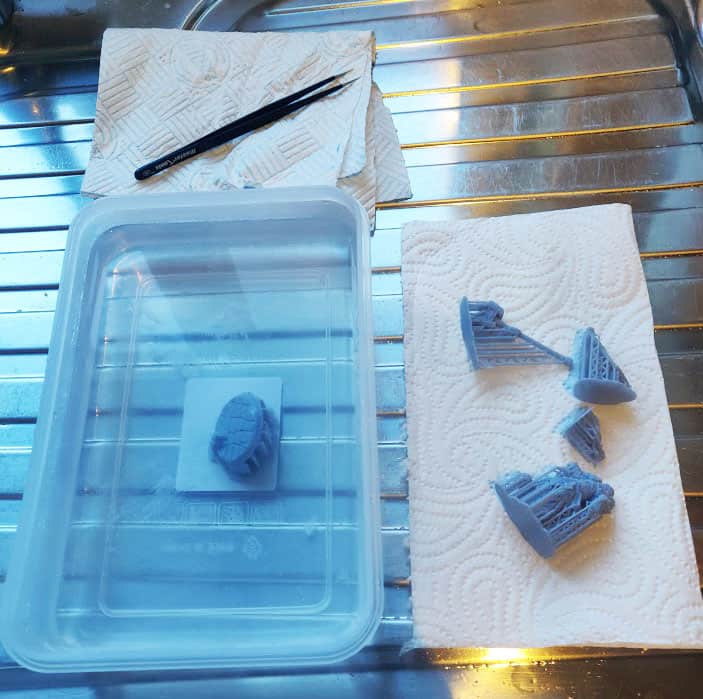
Boil some water and let it cool for a minute, fill a plastic container and drop your print into the warm water for a few minutes. Lift the print out and you will be able to gently remove the supports easily without the need for snips. You can use tweezers to help loosen supports in delicate areas.
Once the supports have been removed dry off the print and place the turntable into your cure machine. Place the models on top and replace the hood ensuring the “detection” sticker is at the back and then select the Cure Cycle and duration form the front panel. Typically 4 mins is plenty for a small model with perhaps 6 mins for larger scales. Congratulations your first printed 3d miniature is now ready for the final clean up of any support dimples or marks before painting.