Your new printer has just arrived and you are eager to get printing but before you do there are a few important steps to take in setting up your resin printer and work space. As we said in the very first article of this series a clear uncluttered workspace with plenty of ventilation is key. As you are beginning it can be a little overwhelming handling this new material that you are not used to and if you do not organise your self well more time can be spent cleaning up unnecessary mess.
Now that your printer is in place on a good clear work surface we can begin the preparation and one of the most important things you will learn in this article is HOW TO LEVEL THE BUILD PLATE. It is one of the most important things to understand from the outset and once you have grasped it, its pretty easy by the way, you will be on your way. The following information is based on the Elegoo Mars 2 Pro however the principles remain no matter the printer.
Initial Set Up
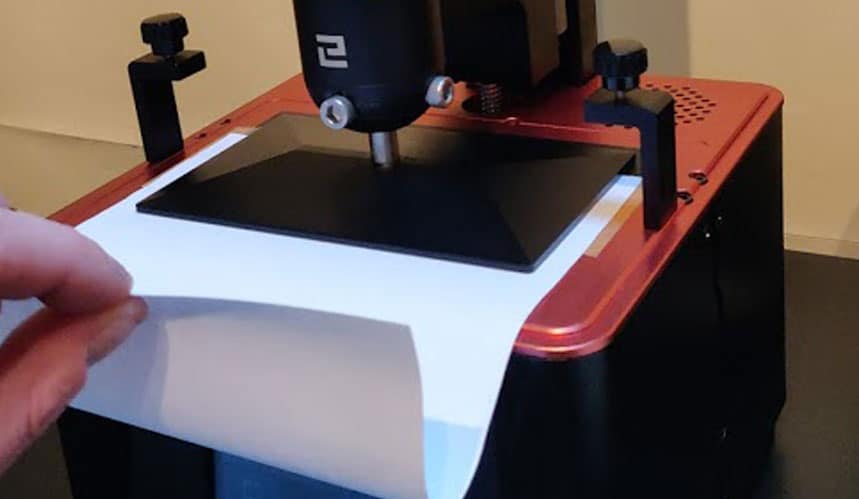
Place your printer on a steady work surface and for now do not install the VAT or the build plate. Look carefully at the screen and you should see a “peel off” tab, remove the protective film. Place a sheet of A4 paper on top of the screen and switch on the printer. After a few seconds the on screen display will appear.
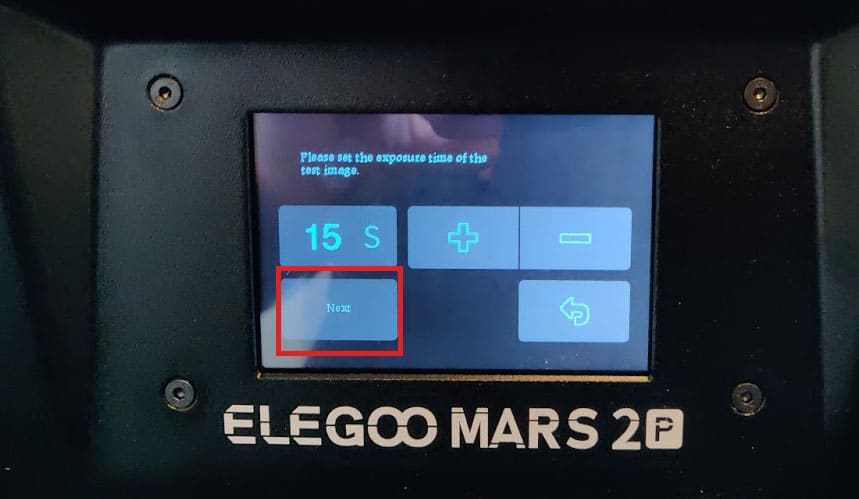
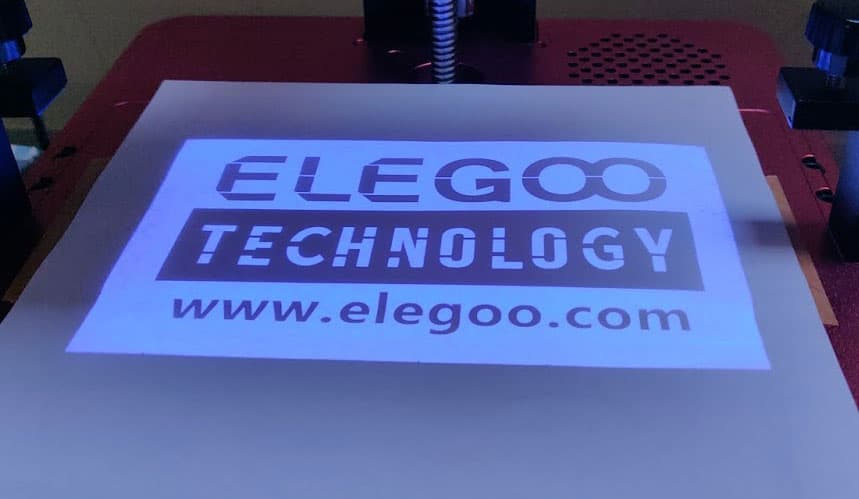
Levelling the Build Plate
Levelling the build plate is one of the most important things when setting up your printer and all over the internet when someone ask for help after a failed print the first responses you will find are “is your build plate level?”
It is nothing to be afraid off and if you follow these simple steps it will become second nature.
Before we begin we will take care of a little preventative maintenance first while the build is off. Take a clean cloth and remove as much of the gunk that the manufacturer applied to the lead screw. Once it has been cleaned take a SMALL amount of White Lithium Grease and dot sparingly onto the lead screw as shown. Then from the main menu select tools followed by manual. If not already selected ensure the 10mm increment is active and then press the move down arrow once. Repeat these 10mm steps and as you get closer to the bottom reduce the increments to 1.00mm. Stop at about 25mm from the bottom of the stroke and reverse the direction to go back up.
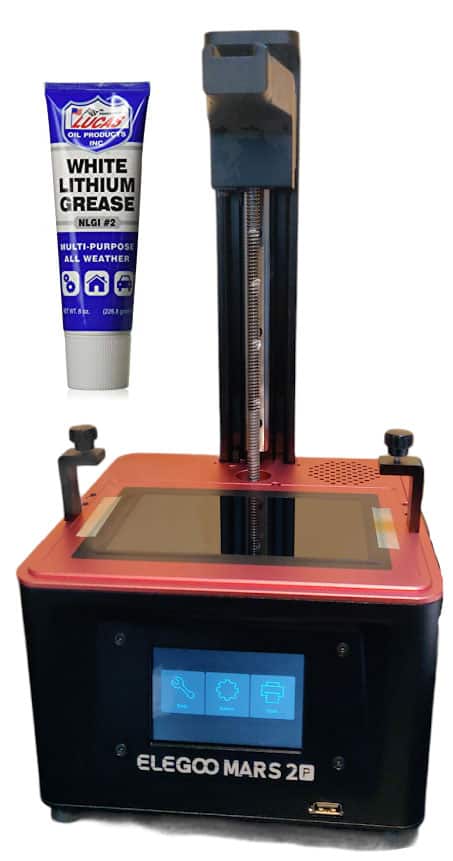
Now that is complete lets get the build plate. With the wrench supplied loosen both screws so that the plate is free to move.
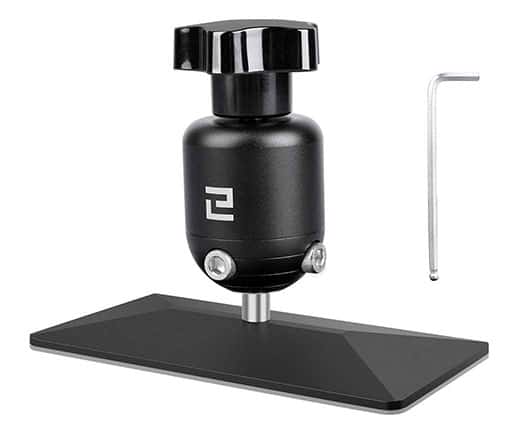
Keep the wrench to hand and get the A4 piece of paper again. Secure the build onto the printer and place the paper on the screen aligning the edge so it sits nice and square.
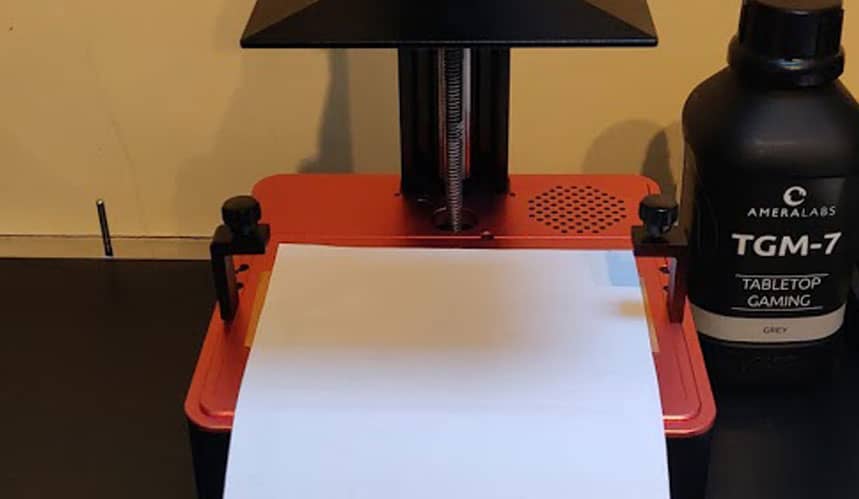
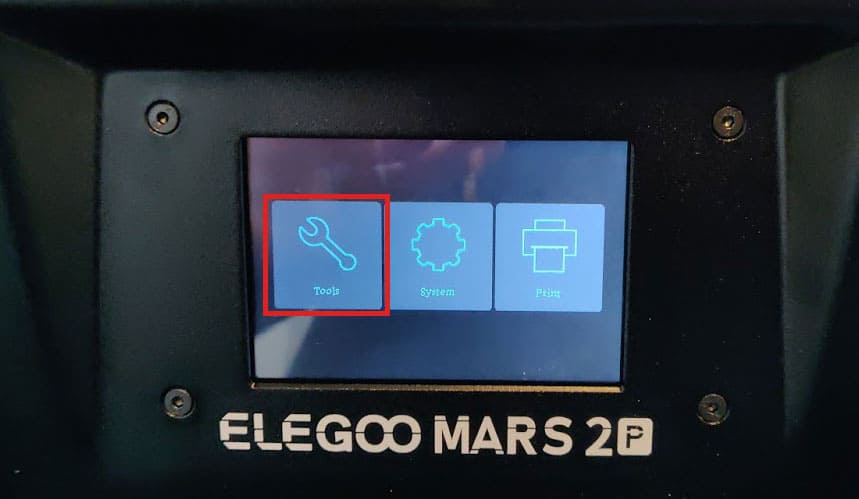
This is where people can go wrong so follow the next steps exactly so you don’t goof and then wonder why its all gone Pete Tong! With the paper in place select the tools icon to arrive at the screen below.
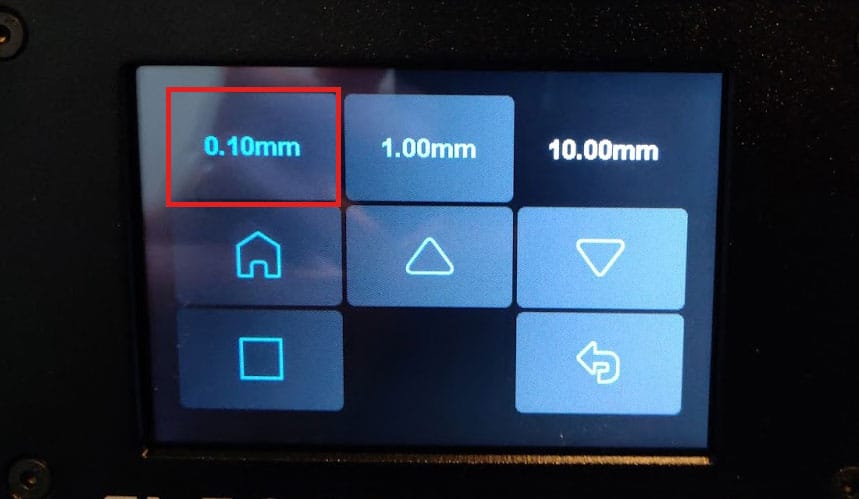
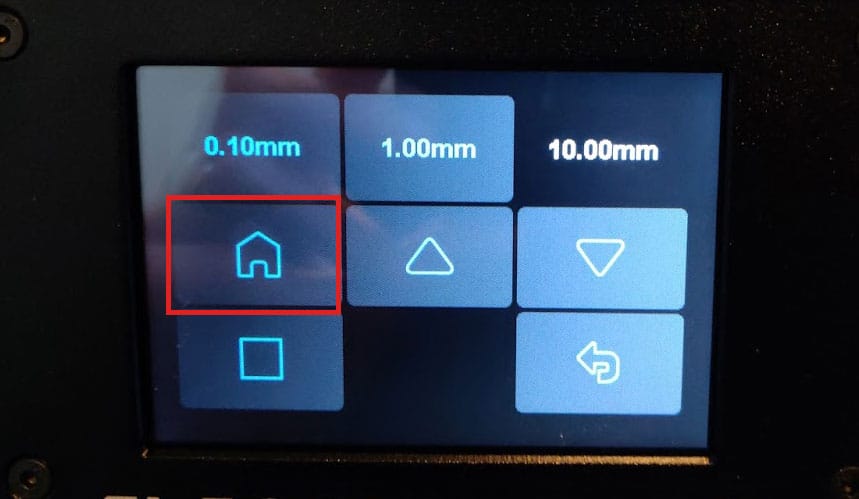
The printer will now lower the build plate until it reaches its home position. As the plate is lower you can make sure that the plate is nice and square as it lowers. When it reaches its home position you will see it lower and raise a little and then “beep”. the build plate should be firmly down on top of the piece of paper.
Take the wrench and with one hand apply gentle pressure to the build plate and gently nip up the forward facing screw. Do not try to tighten fully here, just an initial nip up of the screw. Repeat for the side screw.
Now from the same menu screen make sure the 0.1mm increment is selected and press the Up Arrow once.
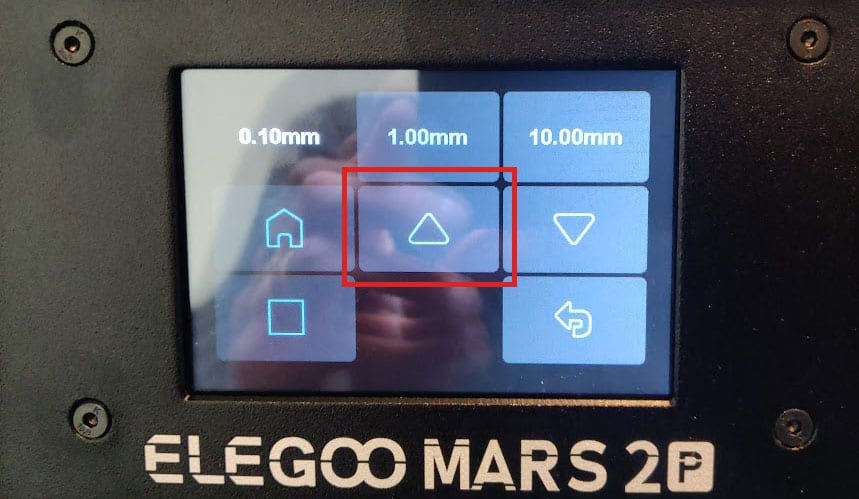
Now try to gently pull out the piece of paper, don’t pull it the whole way as it should be pretty tight still. If it is tight raise a further 0.1mm and try pulling out again, it should be easier but if you try to push it back in it should resist like shown below. Repeat these 0.1mm increments up and down until you can pull the paper out but not push it in freely. Typically you should achieve this with 0.2mm from the home position.
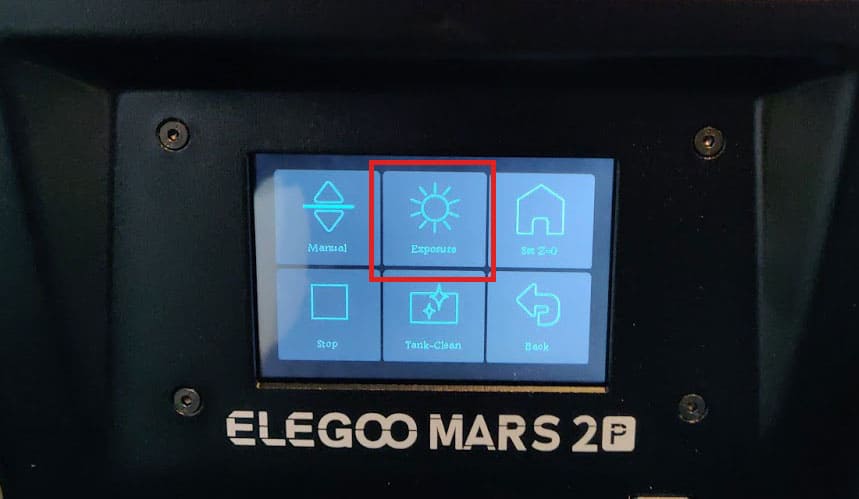
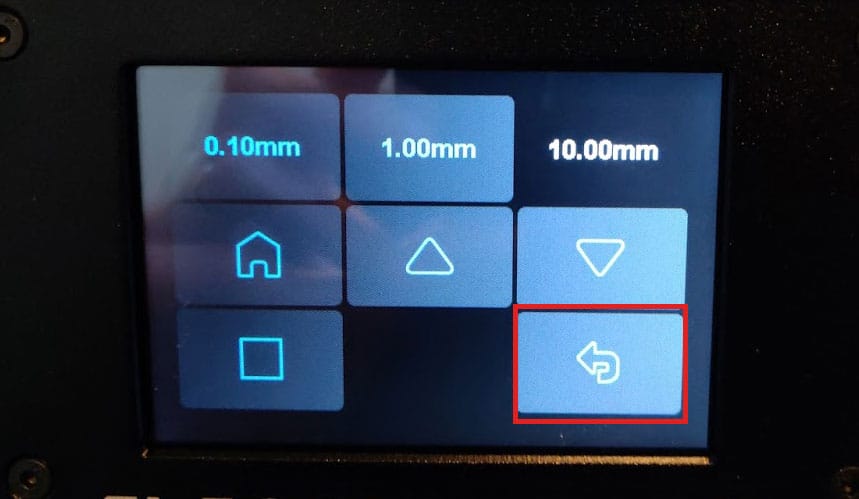
We are nearly there and this is the point were people go wrong. We now need to set the Z Height Zero Point which we have just established with these incremental moves. Press the return key to leave that menu to go back to the previous screen.
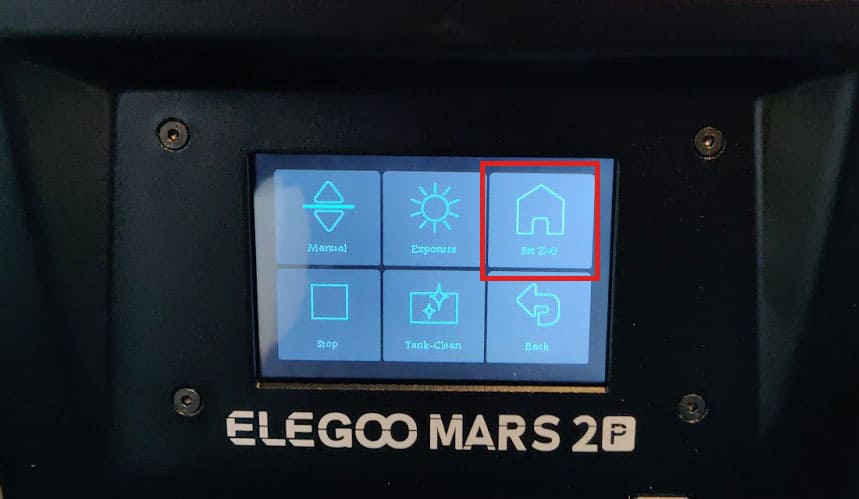
Now press Set Z = 0. Its easy to see how people get this step wrong as the icon looks very similar to the one on the previous screen. So if you have followed these short steps, congratulations your build plate is now level. Go back into manual mode, change the increment to 10mm and start to raise the build plate clear.
Once you have lifted it clear take the build off and further tighten the screws. Job done !
Final Steps
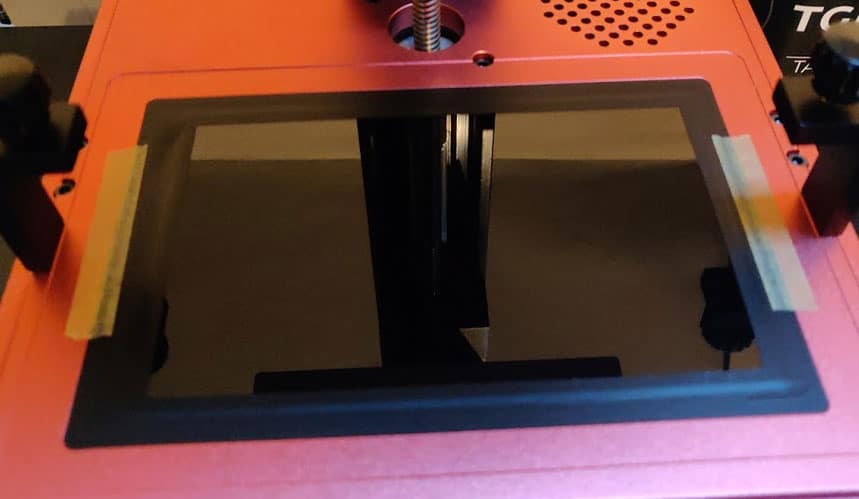
Before placing your VAT look on the under side a check for a peel off tab, remove any protective film. you can see form the pictures that we have applied two small pieces of masking tape to the edges, this helps reduce suction forces. Apply as show to the very edge and make sure not to cover any part of the the actual screen area, there is usually a decent boarder to let you do this. Then with the VAT in place all that is left to do is fill with resin. Gently stir the resin the the bottle to mix it up a little and then pour carefully into the VAT being careful not to over fill.
